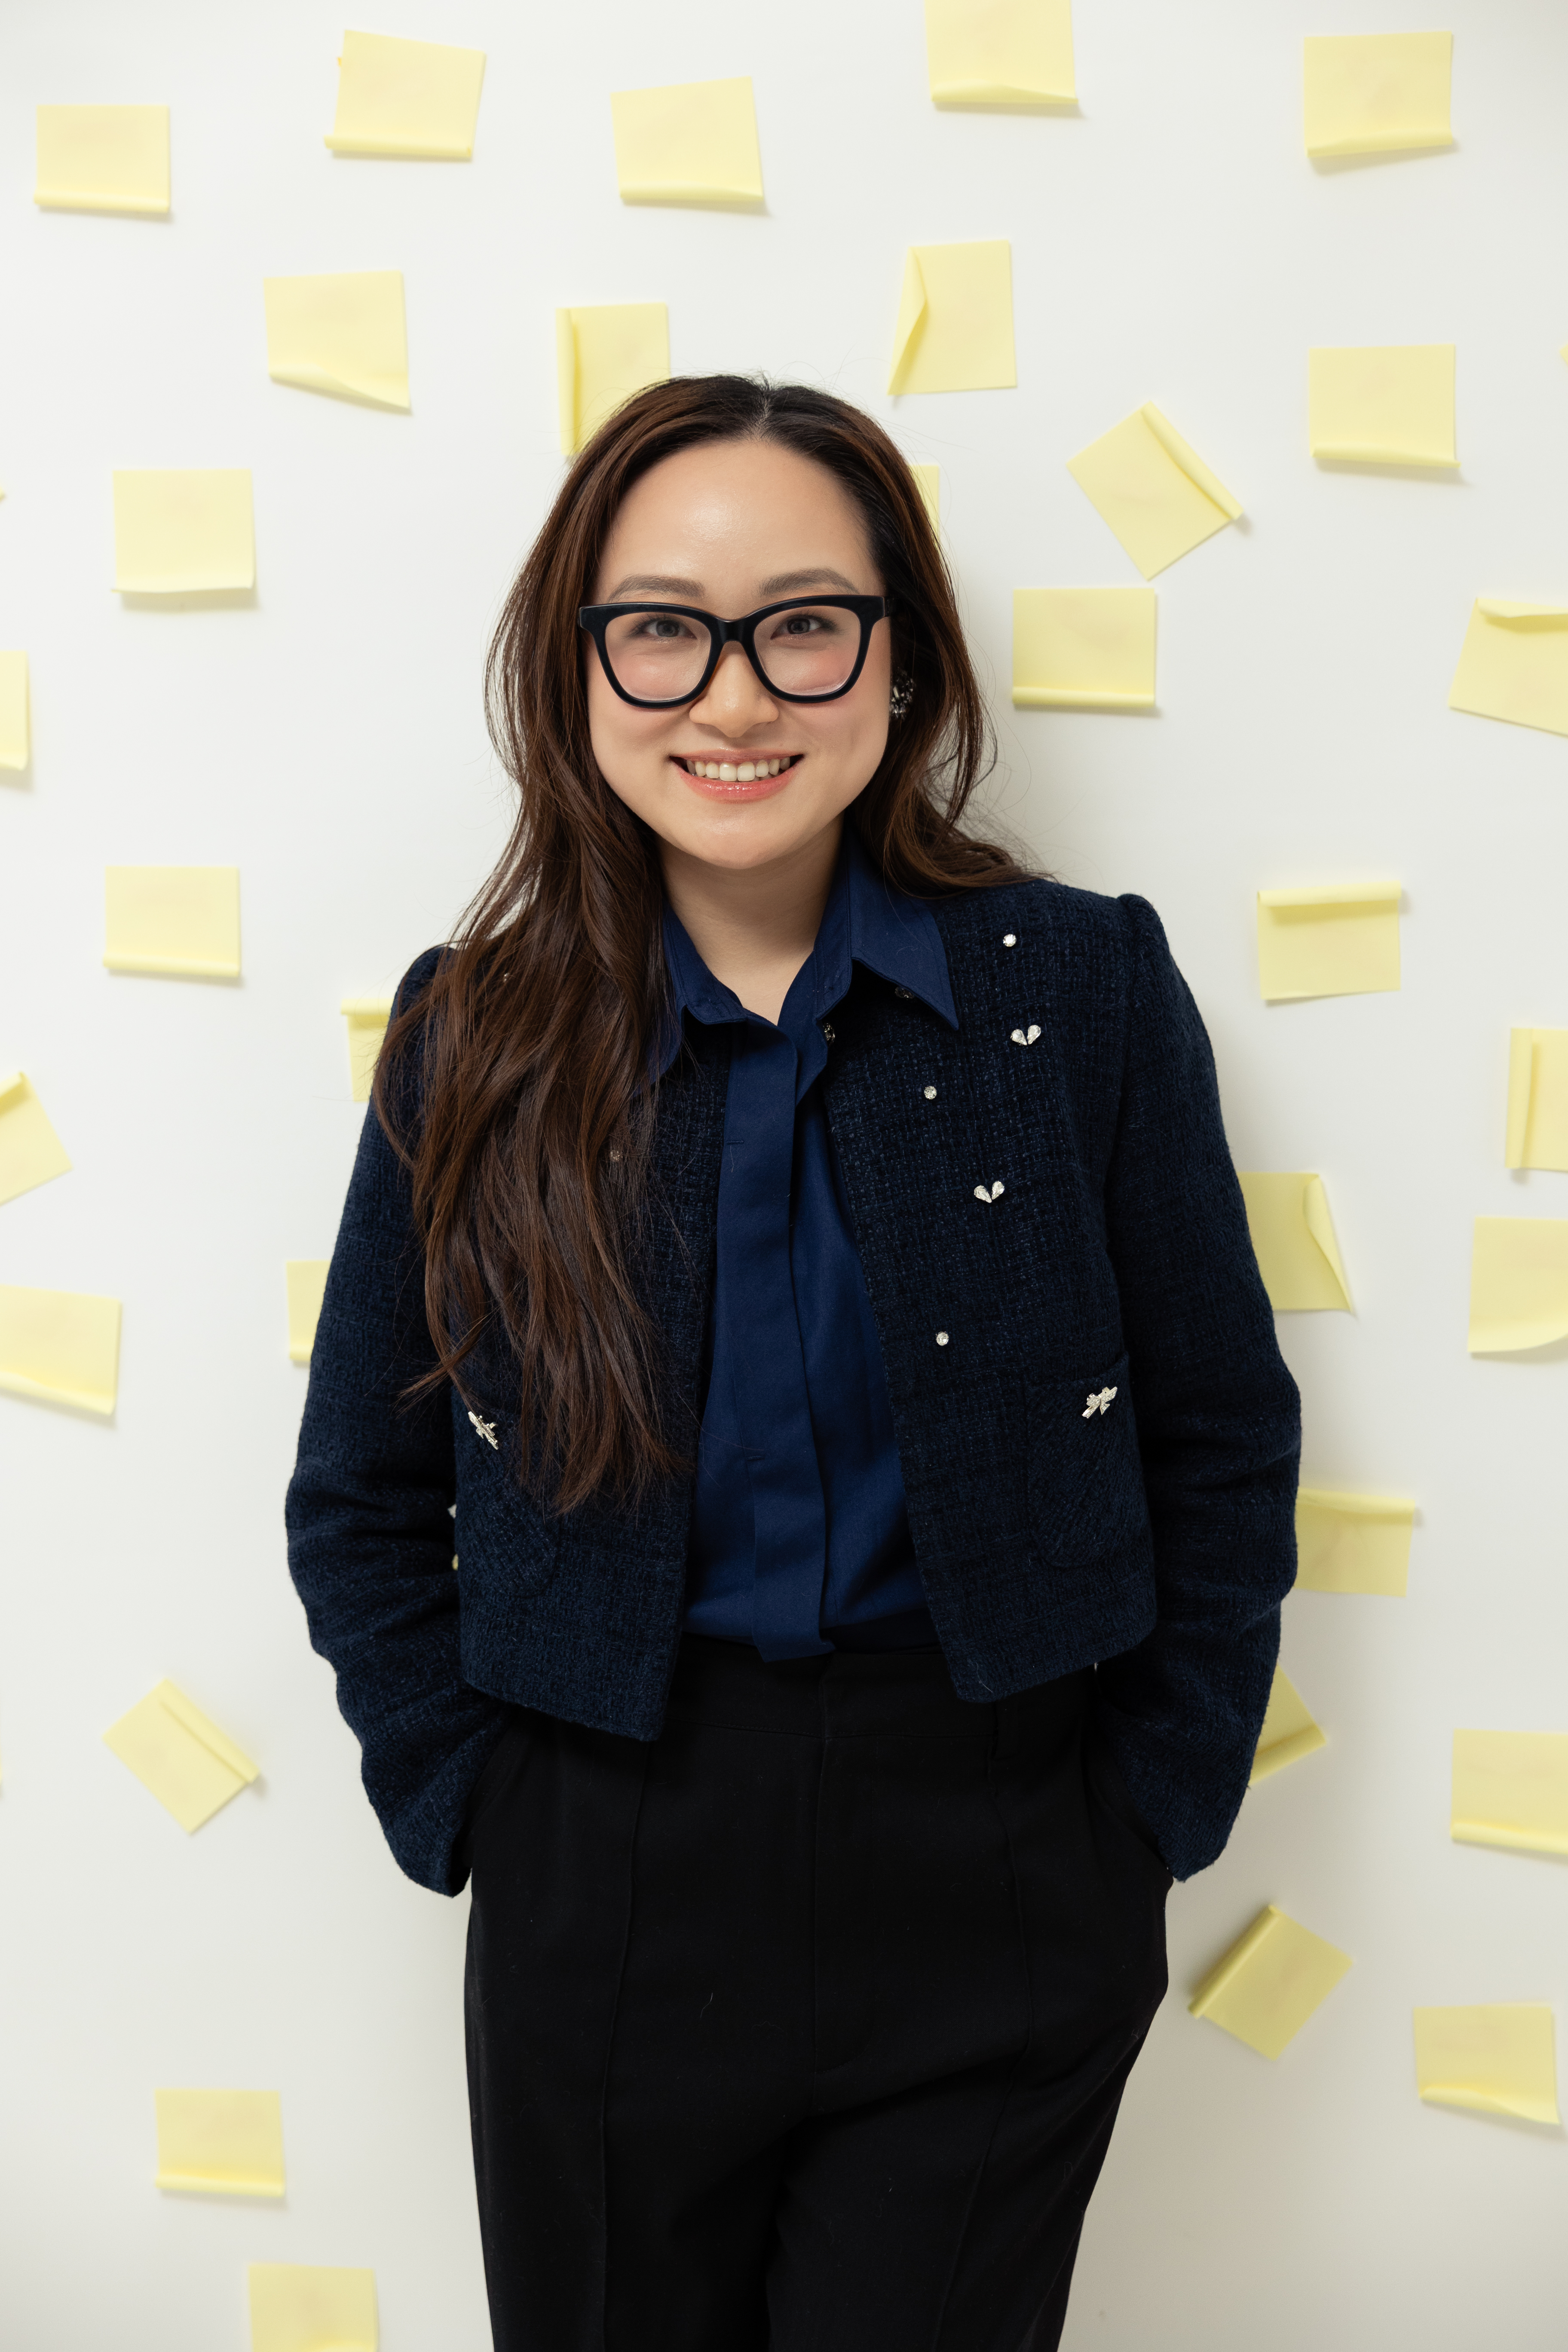
Stepping in front of a professional lens is an investment in your career. In the Dutch job market, a polished, approachable, and authentic photo can make a significant difference on your LinkedIn profile, CV, and Portfolio. If you’ve decided to hire an individual photographer rather than a high-volume studio, you have the advantage of a personalized experience.
To ensure you get the most out of your session, here is a 7-step guide to a successful collaboration.
Step 1: Define the goal of your photoshoot
Before booking, ask yourself: What story am I telling?
- LinkedIn/CV: Usually requires a “Headshot/Portrait”- you might want clean backgrounds and a focus on your face.
- Portfolio: Might require “Environmental Portraits”- shots of you in action or in a setting that reflects your industry (e.g., a bright studio for a designer or a modern office for a consultant). For me, I am a Content Team Lead, a Co-Founder at a Content Marketing Agency and also an Online Teacher/Instructor. Therefore, I would love to keep it simple, neat but somehow showcase a slice of my creative life.
- Tone: Decide if you want to appear authoritative and corporate, or creative and accessible.
For me, I would love to show my working portrait & personalities with the employers and partners in the first 5 seconds when they look at my profile. Therefore, I need to make it really clear about the goal and also my personalities so that the photographer can capture it perfectly and convey the messages through the photos.
Step 2: Identify your personalities, preferences and summarize all the information
The best photos happen when you feel like yourself.
- Style: Do you prefer minimalist, high-contrast, or warm and natural lighting?
- Comfort: Think about which side of your face you prefer or if there are specific poses that make you feel confident.
- Vibe: Summarize your “brand” in three words (e.g., Innovative, Reliable, Energetic) to help the photographer understand the mood.
Step 3: Prepare a Shooting Brief and go over it with the photographer
Don’t leave the visual direction entirely to chance. Create a simple one-page Shooting Brief containing:
- Inspiration: 3–5 “mood board” images from Pinterest or Instagram. I would say Pinterest might be better for you to check out the look and feel, but Instagram is a resources of unique and creative poses that you will be impressed.
- Outfits: List 2–3 clothing options (avoid fine stripes, which can distort on screens). Additionally, think about the concepts, props or anything that helps illustrate the vibe you want to deliver.
- Technical Specs: Do you need vertical crops for mobile or horizontal “hero” shots for a website?
I took the inspirations from all the empowering and inspiring women around me. I looked at my mentor – the expert and also the principal of GIGAN TRAINING CENTER, Ms. Hao Nguyen. Her vibe is the role model that I am heading to, as we are working in the same educational field. Hence, it is crucial to have a good analysis on her photoshoot to ensure that my photos will share the same values.
Step 4: Build the agreement and mutual conditions upfront
To avoid awkwardness later, clarify the logistics before the shutter clicks:
- Deliverables: How many edited photos are included? Will you get the “raw” (unedited) files?
- Usage Rights: Ensure you have the right to use the photos for all professional platforms. In this case, we agreed that all photos will be having watermark from the photographer, and we will pick 10-15 photos that she can edit and remove the watermark.
- Timeline: When will the raw photos and edited photos be ready for review?
- Payments: Will you pay-off the payments or you split it into 2 payments? For me I did it together with my friend so we make it as 2 installments to optimize the monthly budget.
Step 5: Be professional and flexible
On the day of the shoot, arrive 10 minutes early. The Netherlands appreciates punctuality!
- Communication: Talk to your photographer during the shoot. If a pose feels “fake,” say so.
- Adaptability: If the Dutch weather ruins an outdoor shoot, have a “Plan B” indoor location or be ready to play with the atmospheric gray skies, they actually provide beautiful, soft light.
Step 6: Review the photos & Share your feedback
Most photographers will send a “proof gallery” for you to select your favorites.
- Be Specific: When requesting edits, use clear language (e.g., “Could we soften the shadow on the left?” rather than “Make it look better”).
- Selection: Pick photos that look like the version of you that shows up to a Monday morning meeting.
Step 7: The results – Tadaaaa
Once the final edits arrive, it’s time to update your digital presence. A fresh, professional photo often acts as a “pattern interrupt” for recruiters scrolling through hundreds of profiles.


Working with a photographer is a partnership. By being clear, well-structured, and prepared, you remove the guesswork from the process. This ensures that the final result isn’t just a “nice picture,” but a strategic tool that helps you land your next big opportunity in the Netherlands.